


Push-ups are a fundamental exercise, a cornerstone of any effective fitness regimen, renowned for their ability to sculpt the upper body and strengthen the core. Yet, for many, achieving a perfect push-up can feel like an insurmountable challenge, often leading to frustration and improper form. Bollywood actor and fitness enthusiast Soha Ali Khan, known for her practical and consistent approach to fitness, is here to demystify the process, sharing a simple yet effective 5-step progression designed to help beginners and seasoned exercisers alike master this powerful movement.
Why Push-Ups Are a Powerhouse Exercise
Often underestimated, push-ups are far more than just an upper-body exercise; they are a full-body workout that can be performed anywhere, anytime, without any equipment. This compound exercise simultaneously engages multiple muscle groups, offering a myriad of benefits:
- Upper Body Strength: Push-ups effectively target the chest (pectorals), shoulders (deltoids), and triceps, building significant strength and endurance.
- Core Stability: To maintain a straight body line, your core muscles, including the abs and lower back, must be actively engaged, significantly improving core stability and functional strength.
- Improved Posture: Regular push-ups contribute to stronger back and shoulder muscles, which are crucial for maintaining good posture and preventing slouching.
- Bone Density: For women, in particular, push-ups hold importance in helping to maintain bone density.
- Enhanced Endurance: The dynamic nature of push-ups helps improve muscular endurance, allowing your muscles to work longer without fatigue.
- Metabolism Boost: As a compound exercise, push-ups engage large muscle groups, which can raise your metabolism and aid in burning fat.
Soha Ali Khan’s 5-Step Progression to Perfect Push-Ups
Soha Ali Khan’s approach emphasizes a gradual build-up of strength and confidence, breaking down the intimidating full push-up into manageable stages. This progression ensures that proper form is developed at each level, minimizing injury risk and maximizing effectiveness.
Step 1: Wall Push-Ups
The journey begins with wall push-ups, an excellent starting point for absolute beginners or those looking to understand the fundamental body alignment without excessive strain on joints.
- How to Perform: Stand facing a wall, placing your hands slightly wider than shoulder-width apart on the wall at chest height. Step your feet back so your body forms a straight line from head to heels. Keeping your core engaged, bend your elbows and lean towards the wall, then push back to the starting position.
- Benefit: This variation introduces the pushing movement pattern and body alignment, building basic arm and chest engagement with minimal load.
Step 2: Incline Knee Push-Ups
Once comfortable with wall push-ups, the next step involves using an elevated surface, like a sturdy table or bench, to increase the challenge while still reducing the body weight you need to lift.
- How to Perform: Kneel on the floor facing a sturdy elevated surface. Place your hands on the edge of the surface, slightly wider than shoulder-width apart. Ensure your body forms a straight line from your head to your knees. Lower your chest towards the surface by bending your elbows, then push back up.
- Benefit: This reduces the load on the upper body compared to a floor push-up, gradually building strength in the chest, shoulders, and triceps.
Step 3: Knee Push-Ups
Transitioning to the floor, knee push-ups are a popular modification that further increases the load, bringing you closer to a full push-up.
- How to Perform: Start on your hands and knees, with hands slightly wider than shoulder-width apart and directly under your shoulders. Ensure your body forms a straight line from your head to your knees. Keeping your core tight, lower your chest towards the floor by bending your elbows, then push back up to the starting position.
- Benefit: This step significantly engages the chest, shoulders, and triceps, building the foundational strength required for a full push-up.
Step 4: One Knee Push-Up
To bridge the gap between knee push-ups and full push-ups, Soha suggests incorporating the one-knee push-up, which challenges your stability and strength on one side.
- How to Perform: Begin in a knee push-up position. Carefully lift one knee off the ground, extending that leg straight back so only your toes are touching. Perform the push-up as you would a regular knee push-up, maintaining a straight line from head to the active knee/foot. Alternate legs between sets or reps.
- Benefit: This “half-challenge” variation helps develop the unilateral strength and core stability needed to transition to a full push-up.
Step 5: Full Push-Up
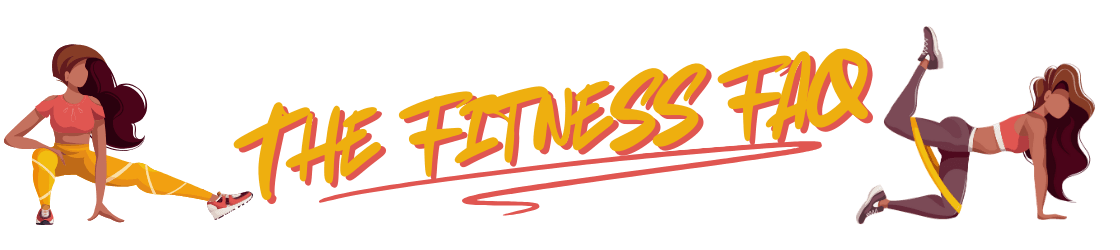
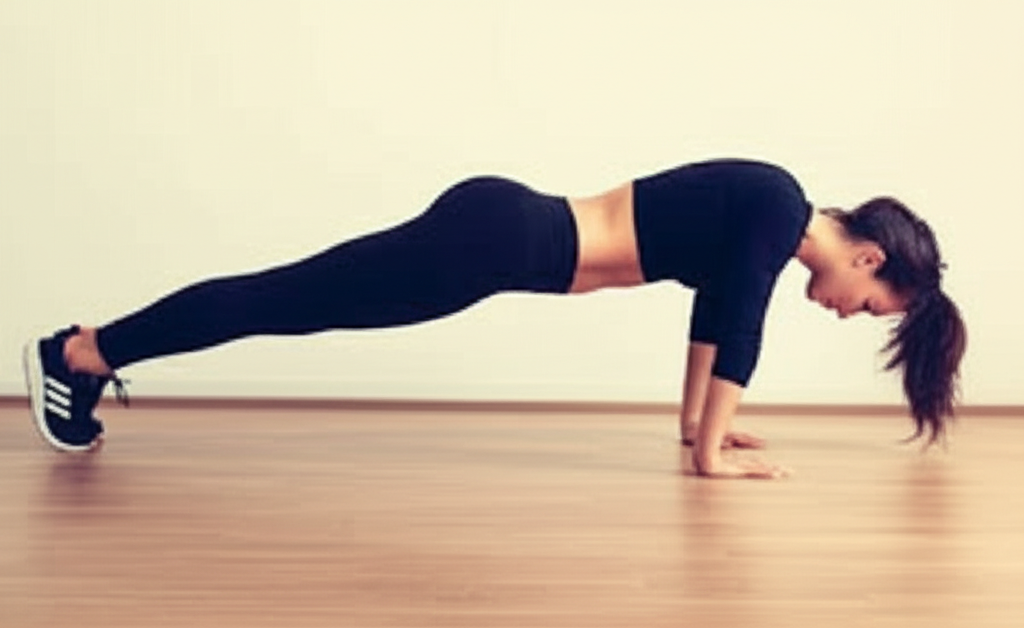
The final step is the traditional push-up, performed on your toes. This requires strength, form, and control across your entire body.
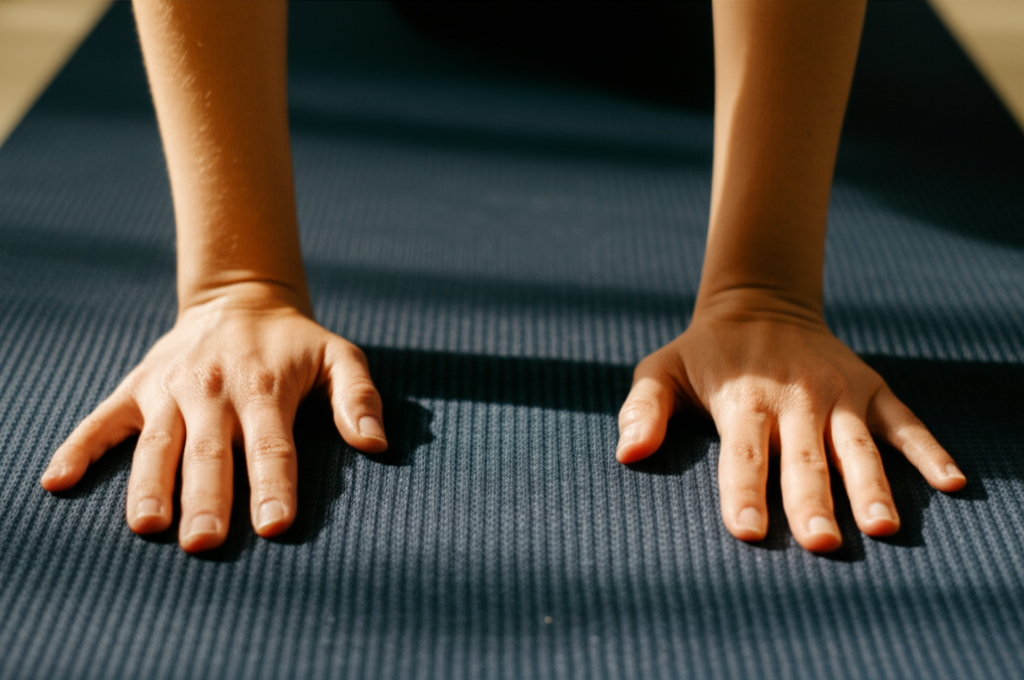
- How to Perform: Start in a plank position with your hands shoulder-width apart, fingers pointing forward, and your body forming a straight line from head to heels. Engage your core, glutes, and quadriceps. Lower your body towards the floor by bending your elbows, keeping them close to your sides. Aim to lower until your chest nearly touches the floor. Push through your palms to return to the starting plank position.
- Benefit: The full push-up is a powerful compound exercise that develops significant upper body and core strength, endurance, and overall functional fitness.
Mastering Proper Push-Up Form
Regardless of the variation, maintaining proper form is paramount to prevent injury and maximize the benefits of the exercise. Fitness experts emphasize several key elements:
- Straight Body Line: Your body should form a straight line from your head to your heels (or knees for modified versions). Avoid sagging hips or an arched back by keeping your core engaged.
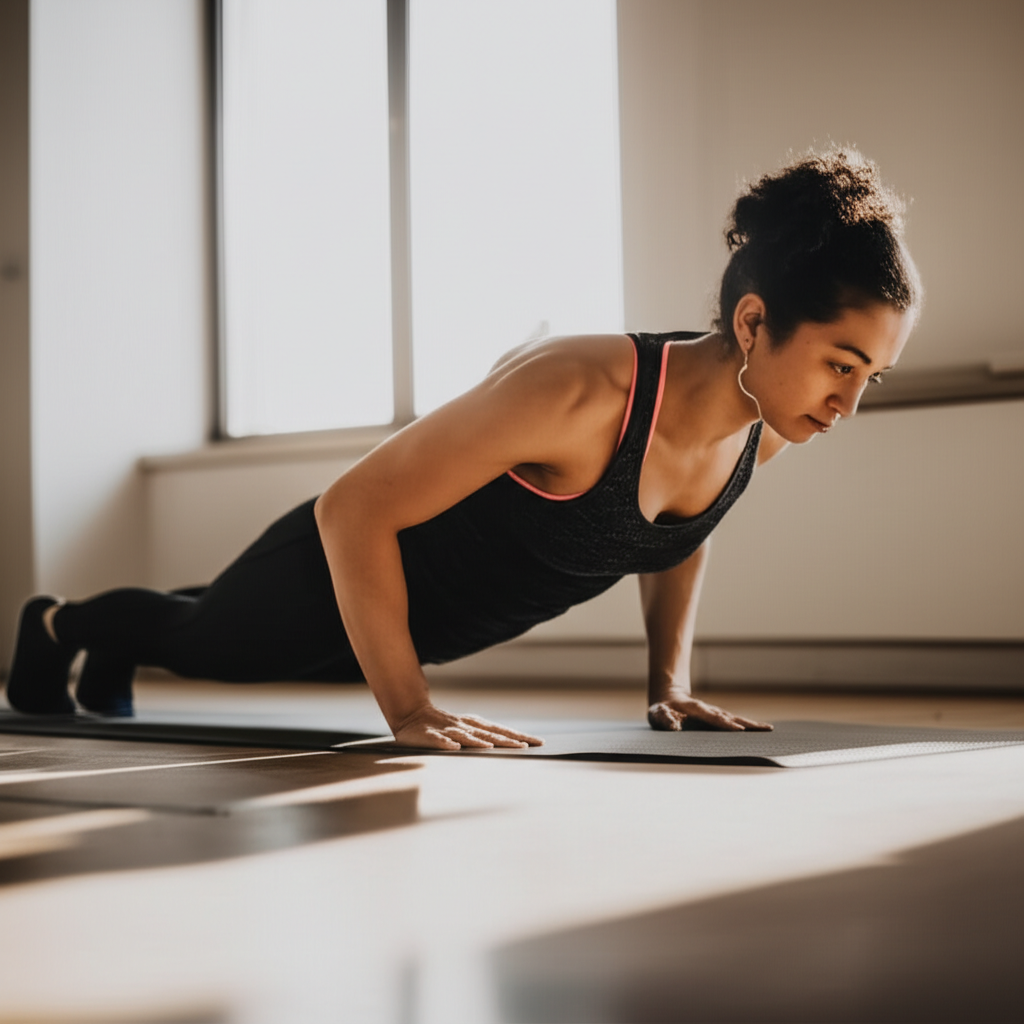
- Hand Placement: Hands should generally be slightly wider than shoulder-width apart, directly under your shoulders.
- Elbow Position: As you lower, keep your elbows relatively close to your body rather than flaring them out to the sides. This protects your shoulder joints.
- Controlled Movement: Perform push-ups with control, avoiding rapid or jerky movements. Inhale as you lower your body and exhale as you push back up.
- Neutral Head Position: Keep your neck in line with your spine by looking at a spot on the floor about a foot in front of you.
- Full Range of Motion: Aim to lower your chest until it is just above or lightly touching the ground to ensure maximum muscle engagement.
Common Push-Up Mistakes to Avoid
Many people rush to increase reps without building foundational strength or focusing on proper form, which can lead to common mistakes and potential injuries.
- Sagging Hips or Arched Back: This indicates a lack of core engagement. Ensure your abdominal muscles are pulled towards your spine.
- Flared Elbows: Letting your elbows extend straight out to the sides can put excessive strain on your shoulder joints. Keep them tucked closer to your body.
- Incomplete Range of Motion: Only going halfway down limits muscle activation. Strive for your chest to get close to the floor.
- Neck Craning: Looking too far up or down can strain your neck. Maintain a neutral head position.
- Rushing: Performing push-ups too quickly often sacrifices form for speed. Focus on controlled, deliberate movements.
Conclusion: Your Journey to Strength, One Push-Up at a Time
Soha Ali Khan’s 5-step routine makes the challenging push-up accessible to everyone, from fitness novices to those looking to refine their technique. In a world often obsessed with extreme fitness challenges, her refreshingly grounded approach reminds us that true strength is built through consistent progress, correct form, and celebrating every small win along the way. By following these simple yet effective steps, you can steadily build the strength and confidence needed to master the perfect push-up and significantly enhance your overall fitness routine.


