


In the vast landscape of fitness trends, some exercises appear deceptively simple, lulling enthusiasts into a false sense of security. One such challenge, the dead hang, has gained significant traction across social media, promising improved grip strength, better posture, and spinal health. Yet, despite its apparent ease—requiring minimal equipment and time—a surprising number of individuals struggle to master it or consistently incorporate it into their routine. This article delves into the dead hang, exploring its hidden complexities and offering a comprehensive guide to truly conquer this understated, yet powerful, fitness feat.

Understanding the Dead Hang: More Than Just Hanging Around
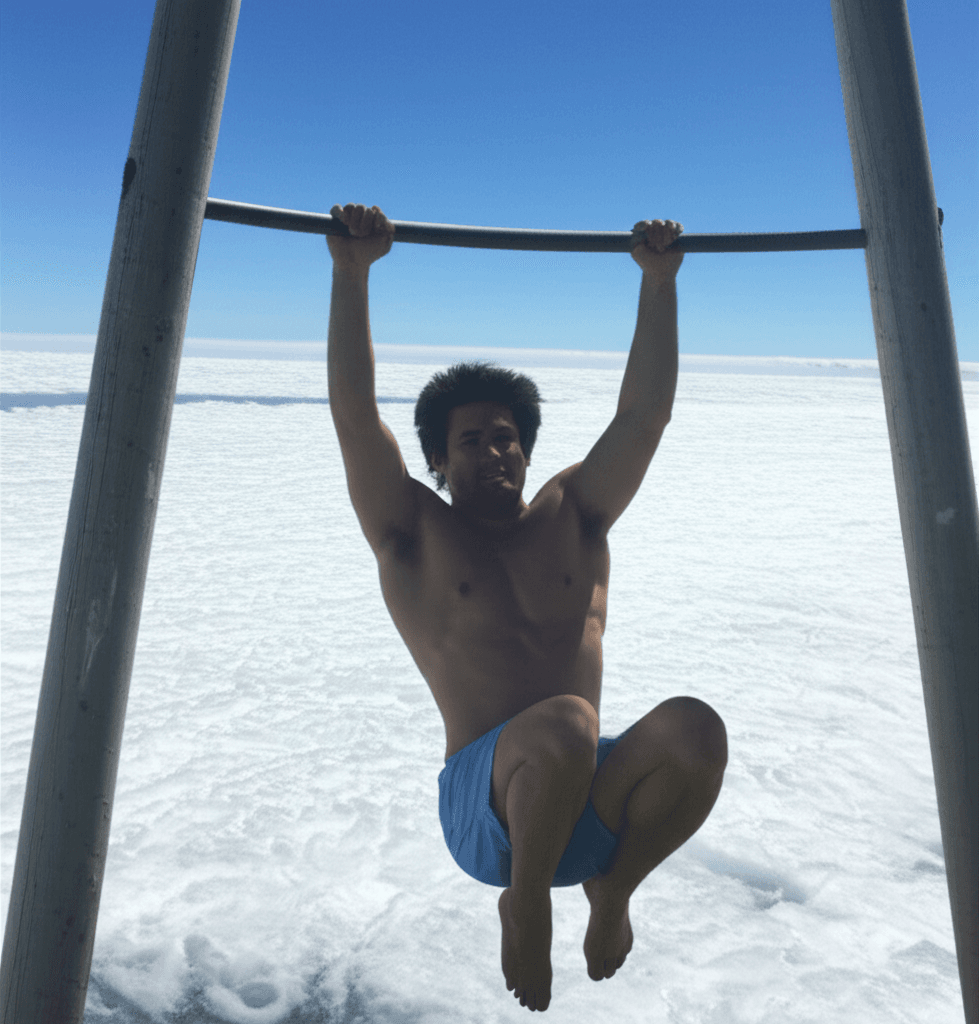
At its core, the dead hang is exactly what it sounds like: hanging from a bar with your arms fully extended, allowing your body to relax and decompress. It’s a fundamental movement that tests and builds foundational strength. While it may seem like a passive activity, a proper dead hang engages numerous muscle groups and demands a surprising amount of fortitude.
What is the Dead Hang?
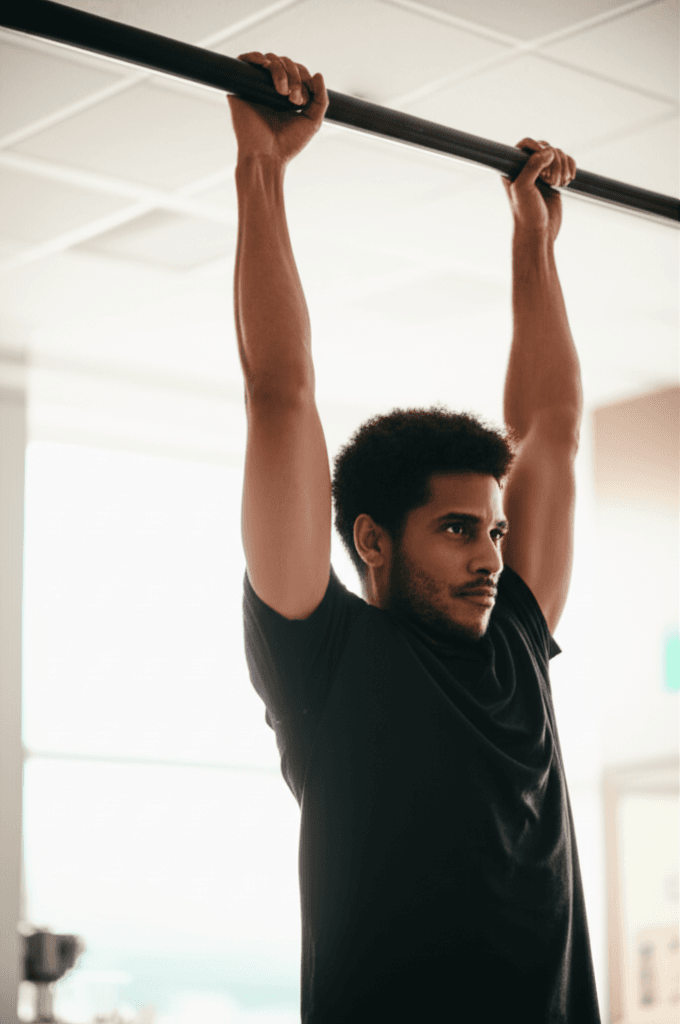
The dead hang involves grabbing a pull-up bar with an overhand grip, hands slightly wider than shoulder-width apart, and allowing your body to hang freely. Your feet should be off the ground, and your arms fully extended, with your shoulders relaxed and elevated towards your ears (a “passive” hang) or slightly engaged to pull them away from your ears (an “active” hang, which is a progression).
Why the Dead Hang is Deceptively Difficult
The primary reason many people fail to master the dead hang isn’t a lack of physical capability, but rather a combination of underestimating its demands and a lack of consistent effort.
The Crucial Role of Grip Strength
One of the immediate challenges for many is grip strength. Holding your entire body weight for an extended period puts immense strain on your forearms, hands, and fingers. Without sufficient grip endurance, even short holds can feel agonizing, leading to premature drops.
Shoulder Stability and Mobility
While it’s a “dead” hang, proper form requires a degree of shoulder health and stability. Relaxing completely without any shoulder engagement can sometimes put undue stress on the joint for those with pre-existing issues. Conversely, an “active” hang—where the shoulders are slightly depressed and retracted—demands activation of the scapular stabilizers, a muscle group often neglected.
Core Engagement and Body Awareness
Excessive swinging or lower back strain during a dead hang often indicates a weak core. Maintaining a relatively still body, especially as you tire, requires subtle but consistent core engagement to prevent uncontrolled movement. This body awareness is another skill developed through consistent practice.
The “Too Simple to Be Effective” Fallacy
Haley Dyes, a trainer and head coach at MyBodyTutor, notes that the dead hang’s apparent simplicity can be its downfall. People often dismiss exercises that don’t feel “hard enough” or complicated enough to work, leading to a lack of commitment. However, consistent efforts, even in simple exercises, often yield the best results.
Benefits of Mastering the Dead Hang
Beyond the satisfaction of conquering a challenge, the dead hang offers a wealth of physiological benefits.
Enhanced Grip Strength
This is perhaps the most obvious benefit. Regular dead hangs will dramatically improve your grip, which translates to better performance in countless other exercises (like pull-ups, deadlifts, and rows) and even daily activities.
Improved Shoulder Health and Mobility
The passive stretch provided by a dead hang can help decompress the spine and increase shoulder mobility. The active hang strengthens the rotator cuff and scapular muscles, promoting overall shoulder stability and reducing the risk of injury.
Spinal Decompression
By hanging freely, gravity gently pulls on your spine, creating space between the vertebrae. This can alleviate compression, improve posture, and provide relief for mild back pain.
Forearm and Lat Development
Consistent dead hangs contribute to the development of stronger forearms and lats (latissimus dorsi), the large muscles of your back.
How to Master the Dead Hang: A Step-by-Step Guide
Mastering the dead hang is a journey of consistency and gradual progression. Here’s how to approach it:
1. Start with the Basics: The Passive Hang
Begin by simply holding for short durations.
- Setup: Stand beneath a sturdy pull-up bar. Use an overhand grip, hands slightly wider than shoulder-width. Jump up or step onto a box to reach the bar, ensuring your feet are completely off the ground.
- Form: Allow your body to hang freely. Your arms should be fully extended. Let your shoulders relax and elevate towards your ears. Avoid shrugging down initially.
- Duration: Start with 5-10 second holds. Focus on building the habit over the duration.
- Frequency: Perform 3-5 sets, 2-3 times per week, with adequate rest between sets.
2. Gradual Increase in Duration
As your grip strength improves, slowly increase your holding time.
- Progression: Add 5-10 seconds to your hold time as you feel comfortable, aiming for 30-60 seconds.
- Technique: Focus on controlled breathing throughout the hold. Try to relax your body as much as possible, letting gravity do its work for spinal decompression.
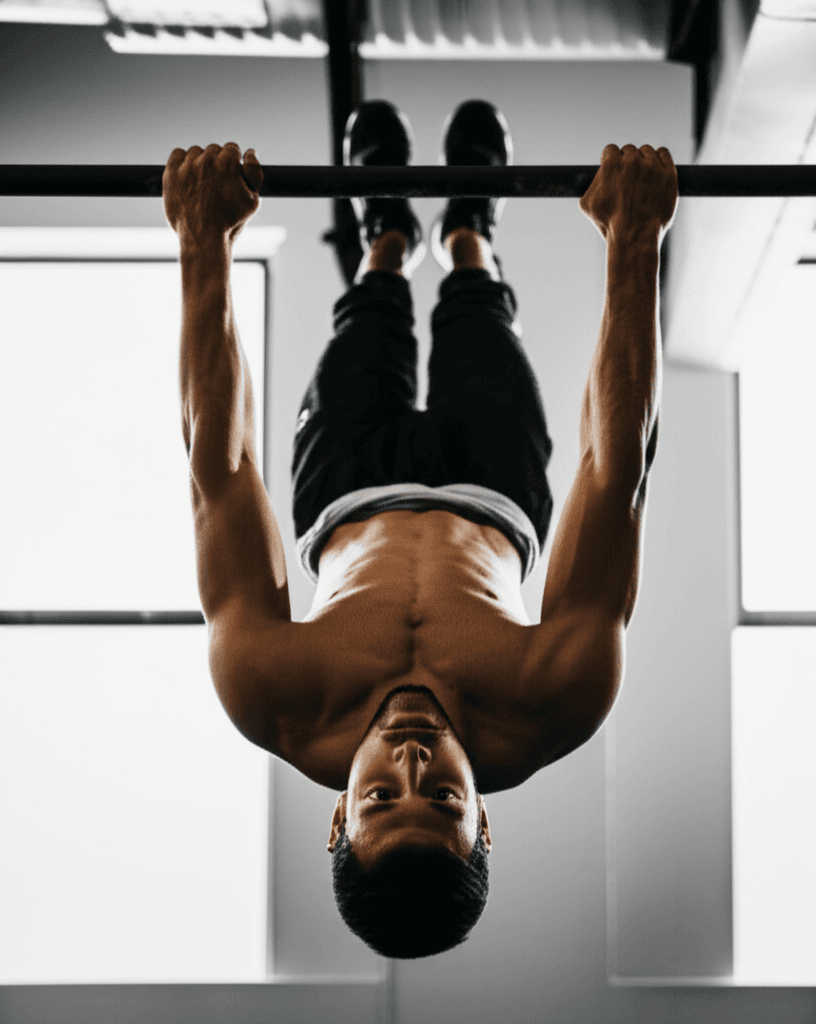
3. Transition to the Active Hang (Scapular Pull)
Once you can comfortably hold a passive dead hang for 30-60 seconds, introduce the “active hang.” This builds crucial shoulder stability.
- Execution: From a passive hang, engage your lats and shoulder blades to slightly pull your body upwards, about an inch or two, without bending your elbows. Your shoulders should move away from your ears, and your chest should slightly lift.
- Hold: Hold this engaged position for a few seconds before returning to a passive hang.
- Sets/Reps: Perform 3-4 sets of 5-8 active hangs, holding the top position for 2-3 seconds.
4. Grip Variations and Challenges
To further challenge your grip and build endurance, consider variations:
- Mixed Grip: Alternate between an overhand and underhand grip on different sets.
- Thicker Bar: If available, using a thicker bar will significantly challenge your grip.
- One-Arm Hang (Advanced): Progress to a one-arm hang by using two hands to get into position, then slowly releasing one hand. Start with very short holds and gradually increase.
Addressing Common Pitfalls
- Excessive Swinging: If you find yourself swinging uncontrollably, slow down and focus on engaging your core. Practice shorter holds with a focus on stillness.
- Lower Back Strain: This can also be a sign of a weak core. Incorporate dedicated core exercises into your routine.
- Hand Pain/Blisters: Ensure you have a good grip on the bar. Consider using chalk or gloves if necessary, but try to develop natural calluses over time.

Tips for Consistency and Long-Term Success
The true test of any fitness challenge is adherence.
- Start Small: Begin with manageable durations (e.g., 5-second holds) even if you feel you can do more. The goal is to build the habit first.
- Focus on the Habit, Not Just the Duration: Consistency is key. Even short, regular dead hangs are more beneficial than sporadic, long ones.
- Reframe the Challenge: Understand that “simple” does not mean “ineffective.” Consistent effort in fundamental movements often yields the best results.
- Build Confidence: If you’re self-conscious, practice in a private setting like a garage or backyard before attempting it in a public gym.
- Have a Plan A, B, and C: Identify multiple locations or pieces of equipment where you can perform dead hangs (e.g., gym, playground, doorway bar) to eliminate excuses for skipping a day.
By approaching the dead hang with respect for its demands and a commitment to consistent practice, you’ll not only master this simple yet challenging fitness feat but also unlock a host of benefits for your grip, shoulders, and overall well-being.


